It is inevitable. You are weaving along, thinking how lovely it is to make cloth at a loom when you discover a most vexing situation in your warp. Perhaps a warp end has begun to fray. Perhaps, as I found, there is an unsightly knot in the yarn as a result of the milling process. In either way, this sort of thing WILL NOT STAND. It has to be fixed, both for aesthetic reasons but also to preserve the structural integrity of your cloth.
Here’s how I replace my warp ends. Believe me, I’ve had lots of practice.
- 1. Try to allow several inches of repair “space” on your warp before attempting this fix.
- 2. Measure out a new warp end for your project. In my case, I had about 6 yards of warp left on my loom. My new warp end measured about 7 yards.
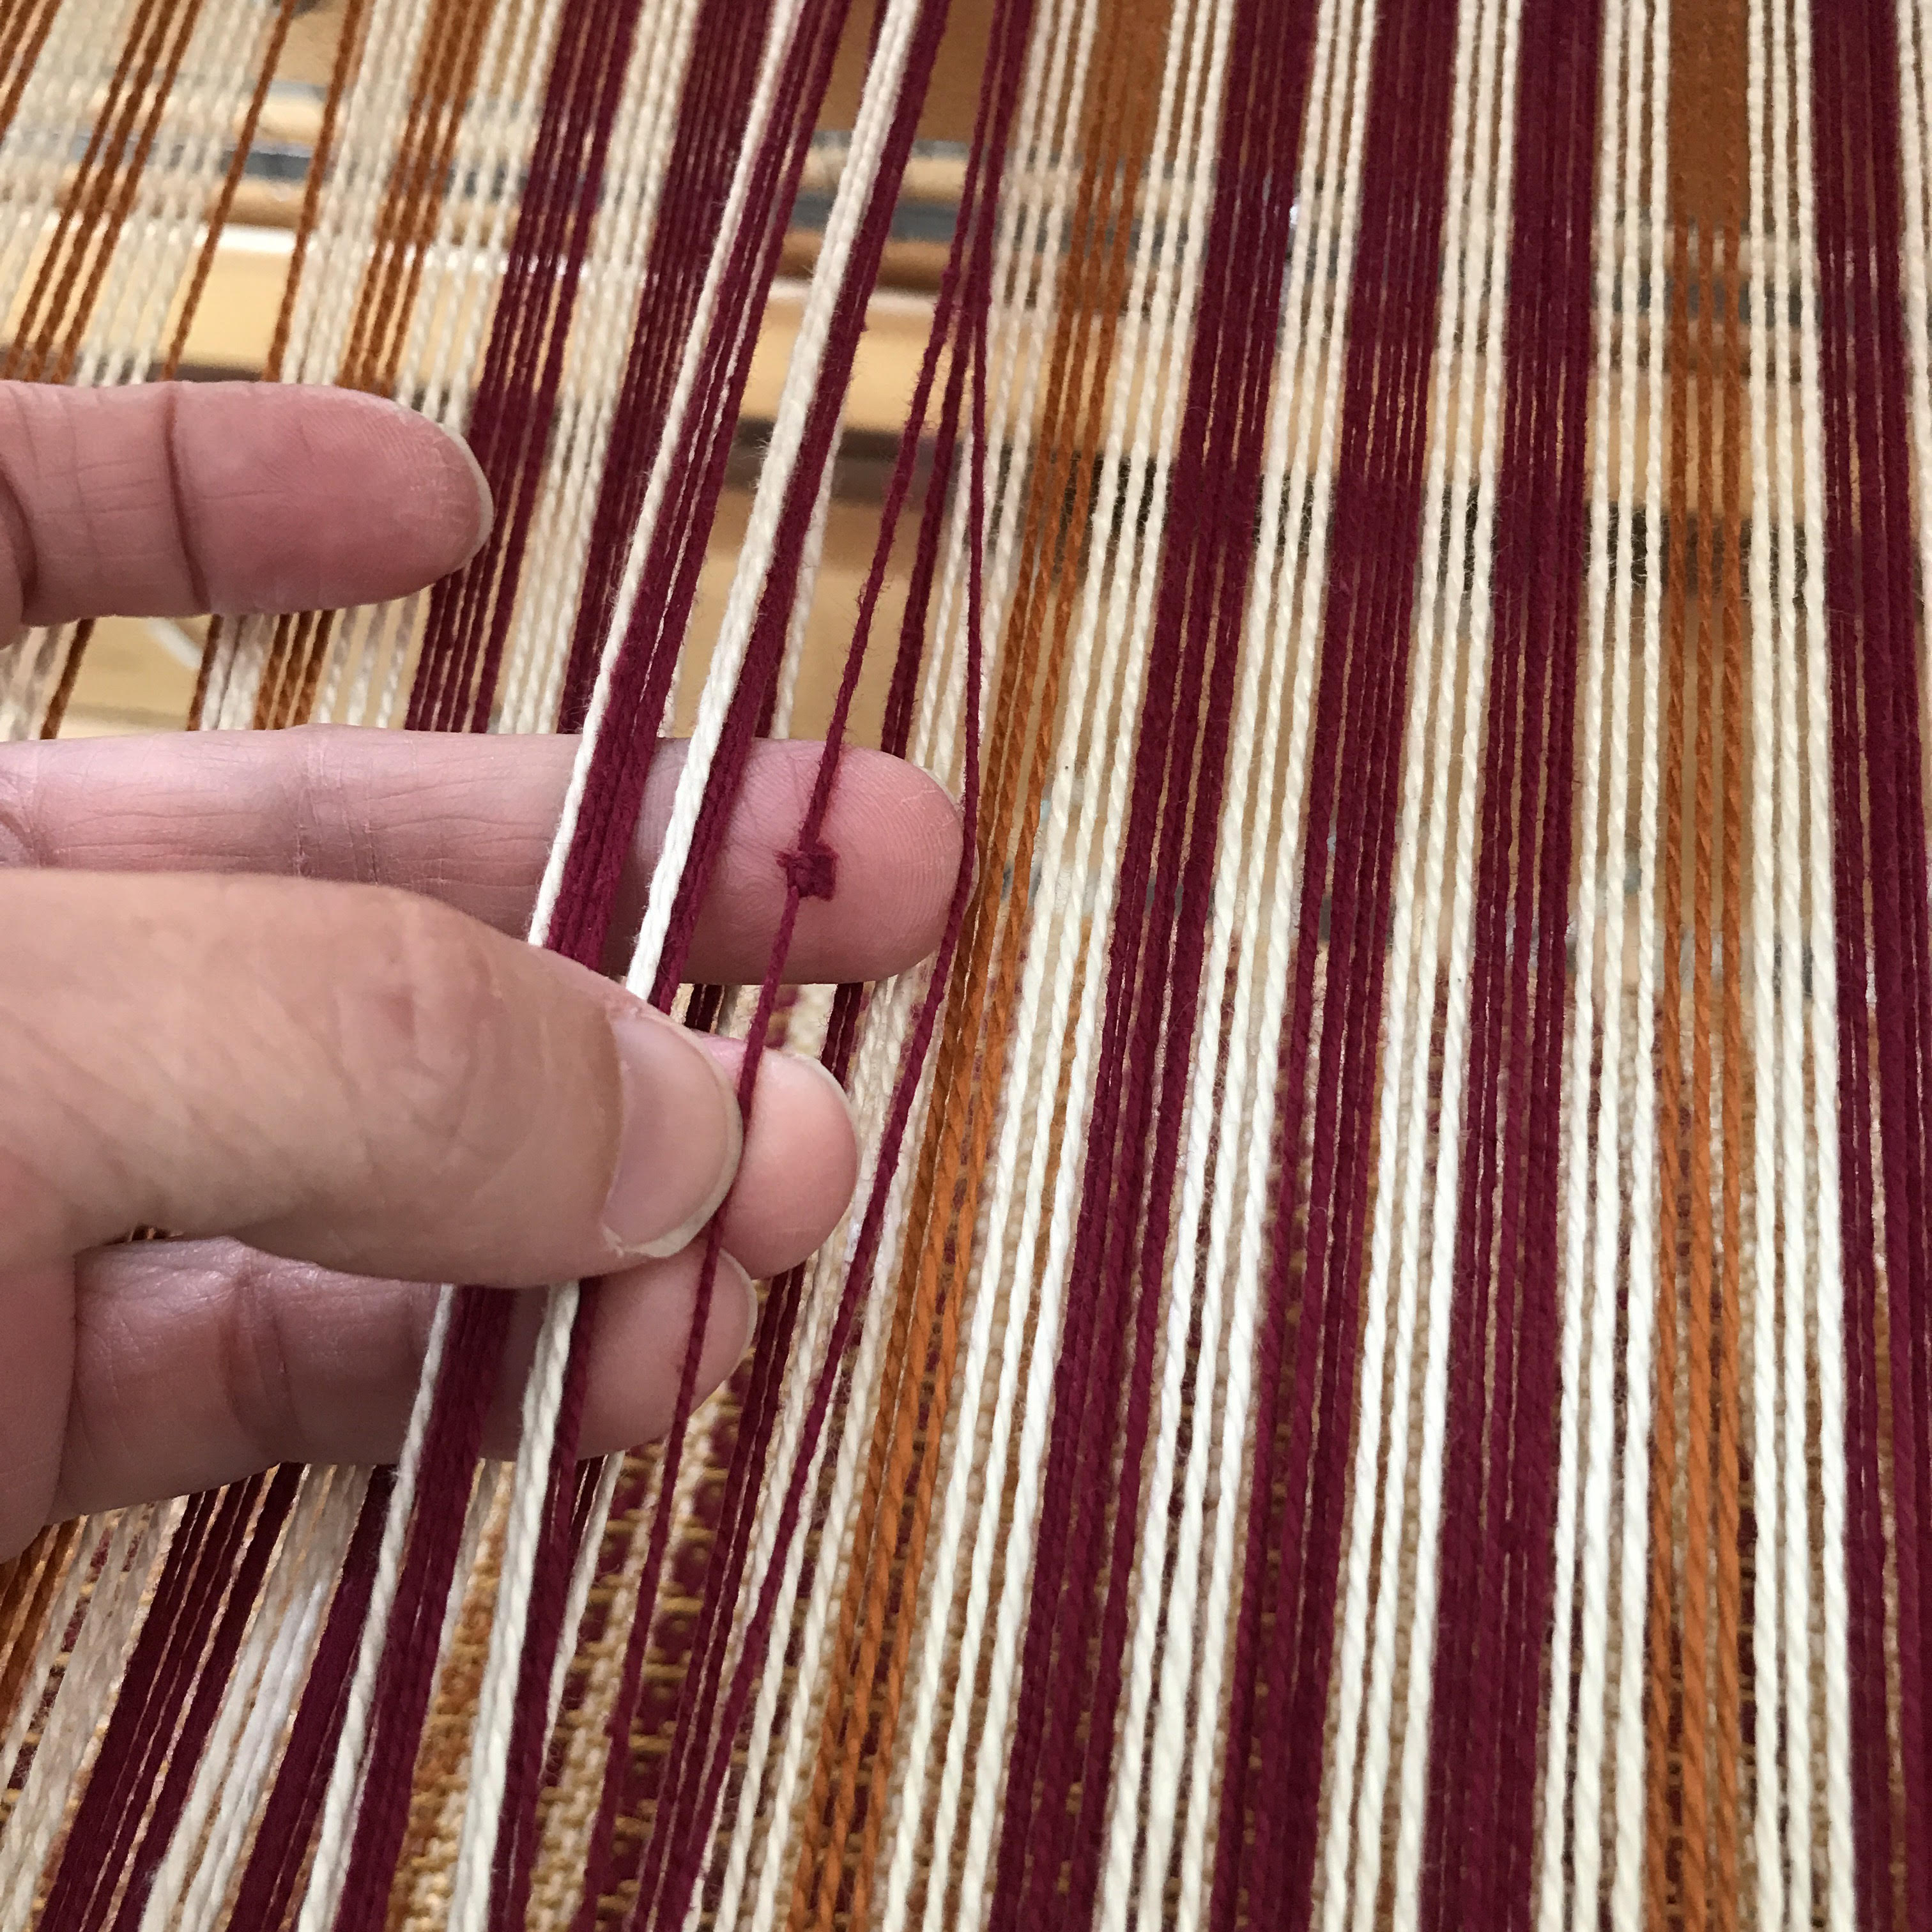
- 3. Thread the new warp end in the same dent and the same heddle as the old, it-needs-to-be-replaced warp end. You’ll have two ends in the same heddle and dent.
- 4. Pull all but about 12″ of new warp through your dent/heddle and store over the back beam of your loom as you would a floating selvedge end.
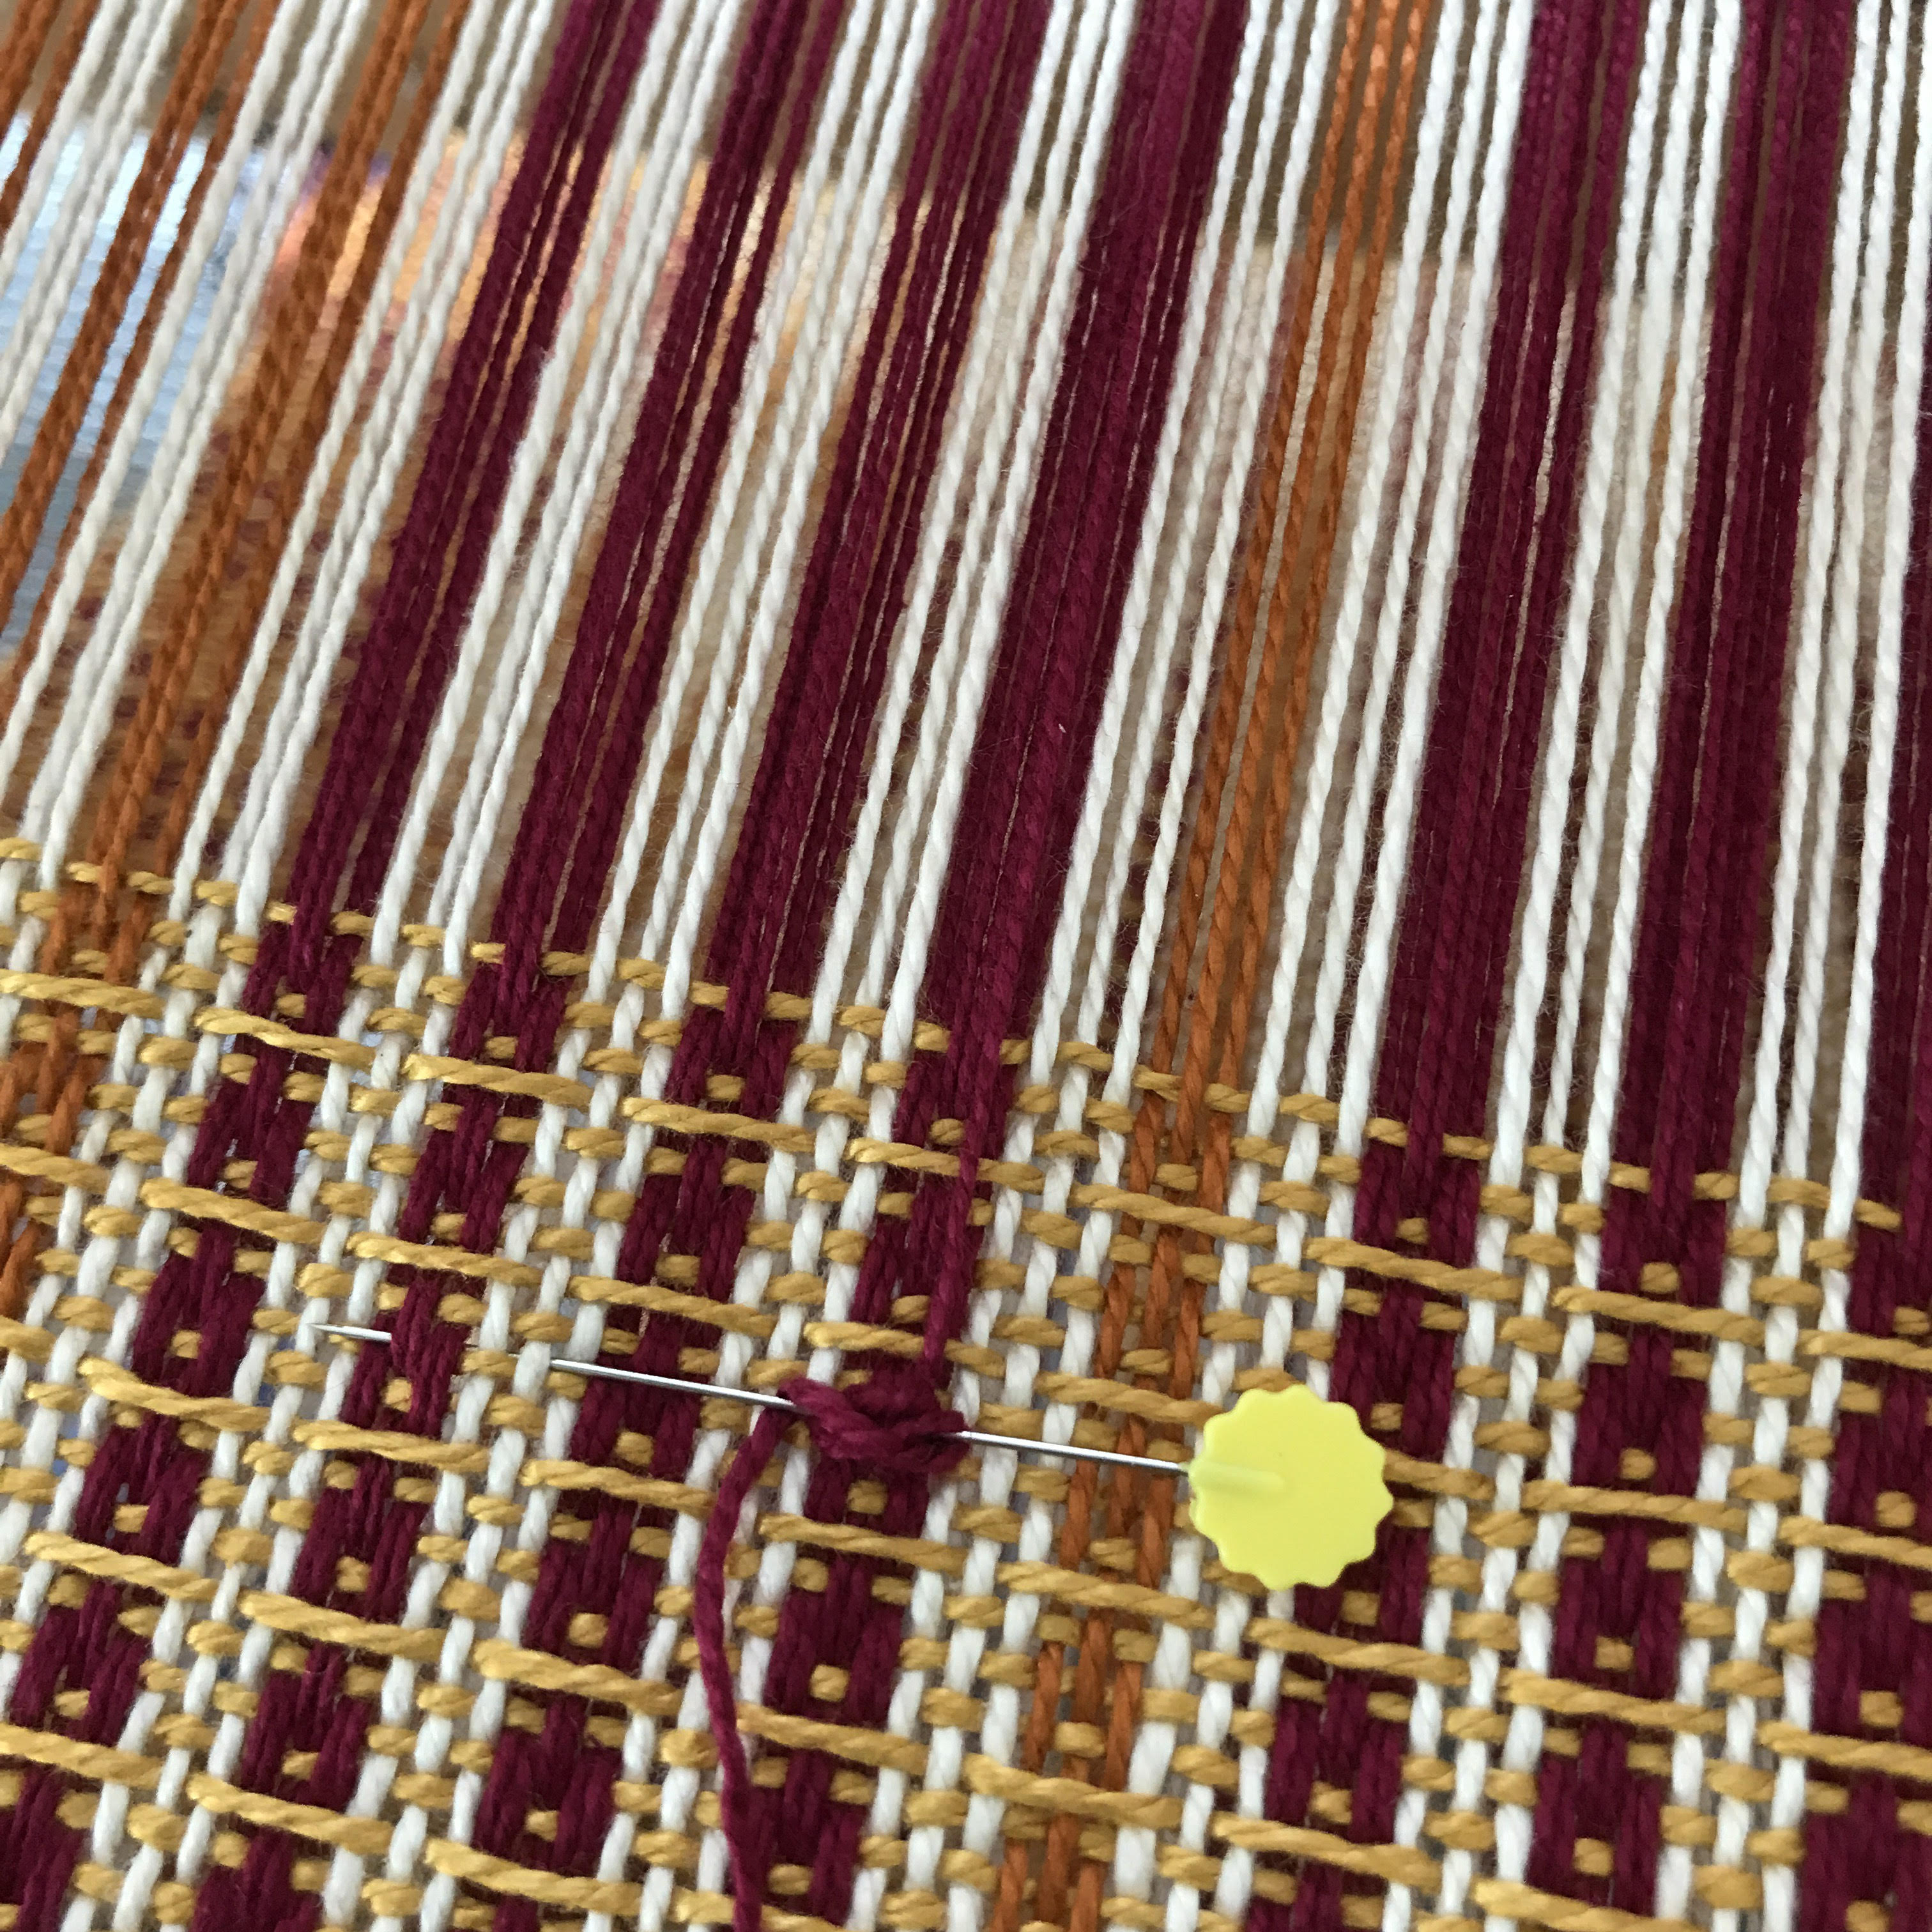
- 5. Refer to the photo below to secure the tail of your new warp end in a portion of your woven cloth. Use a long straight pin to wrap, figure 8 style, the tail of your new warp end. Tuck the pin through the cloth to secure it further.
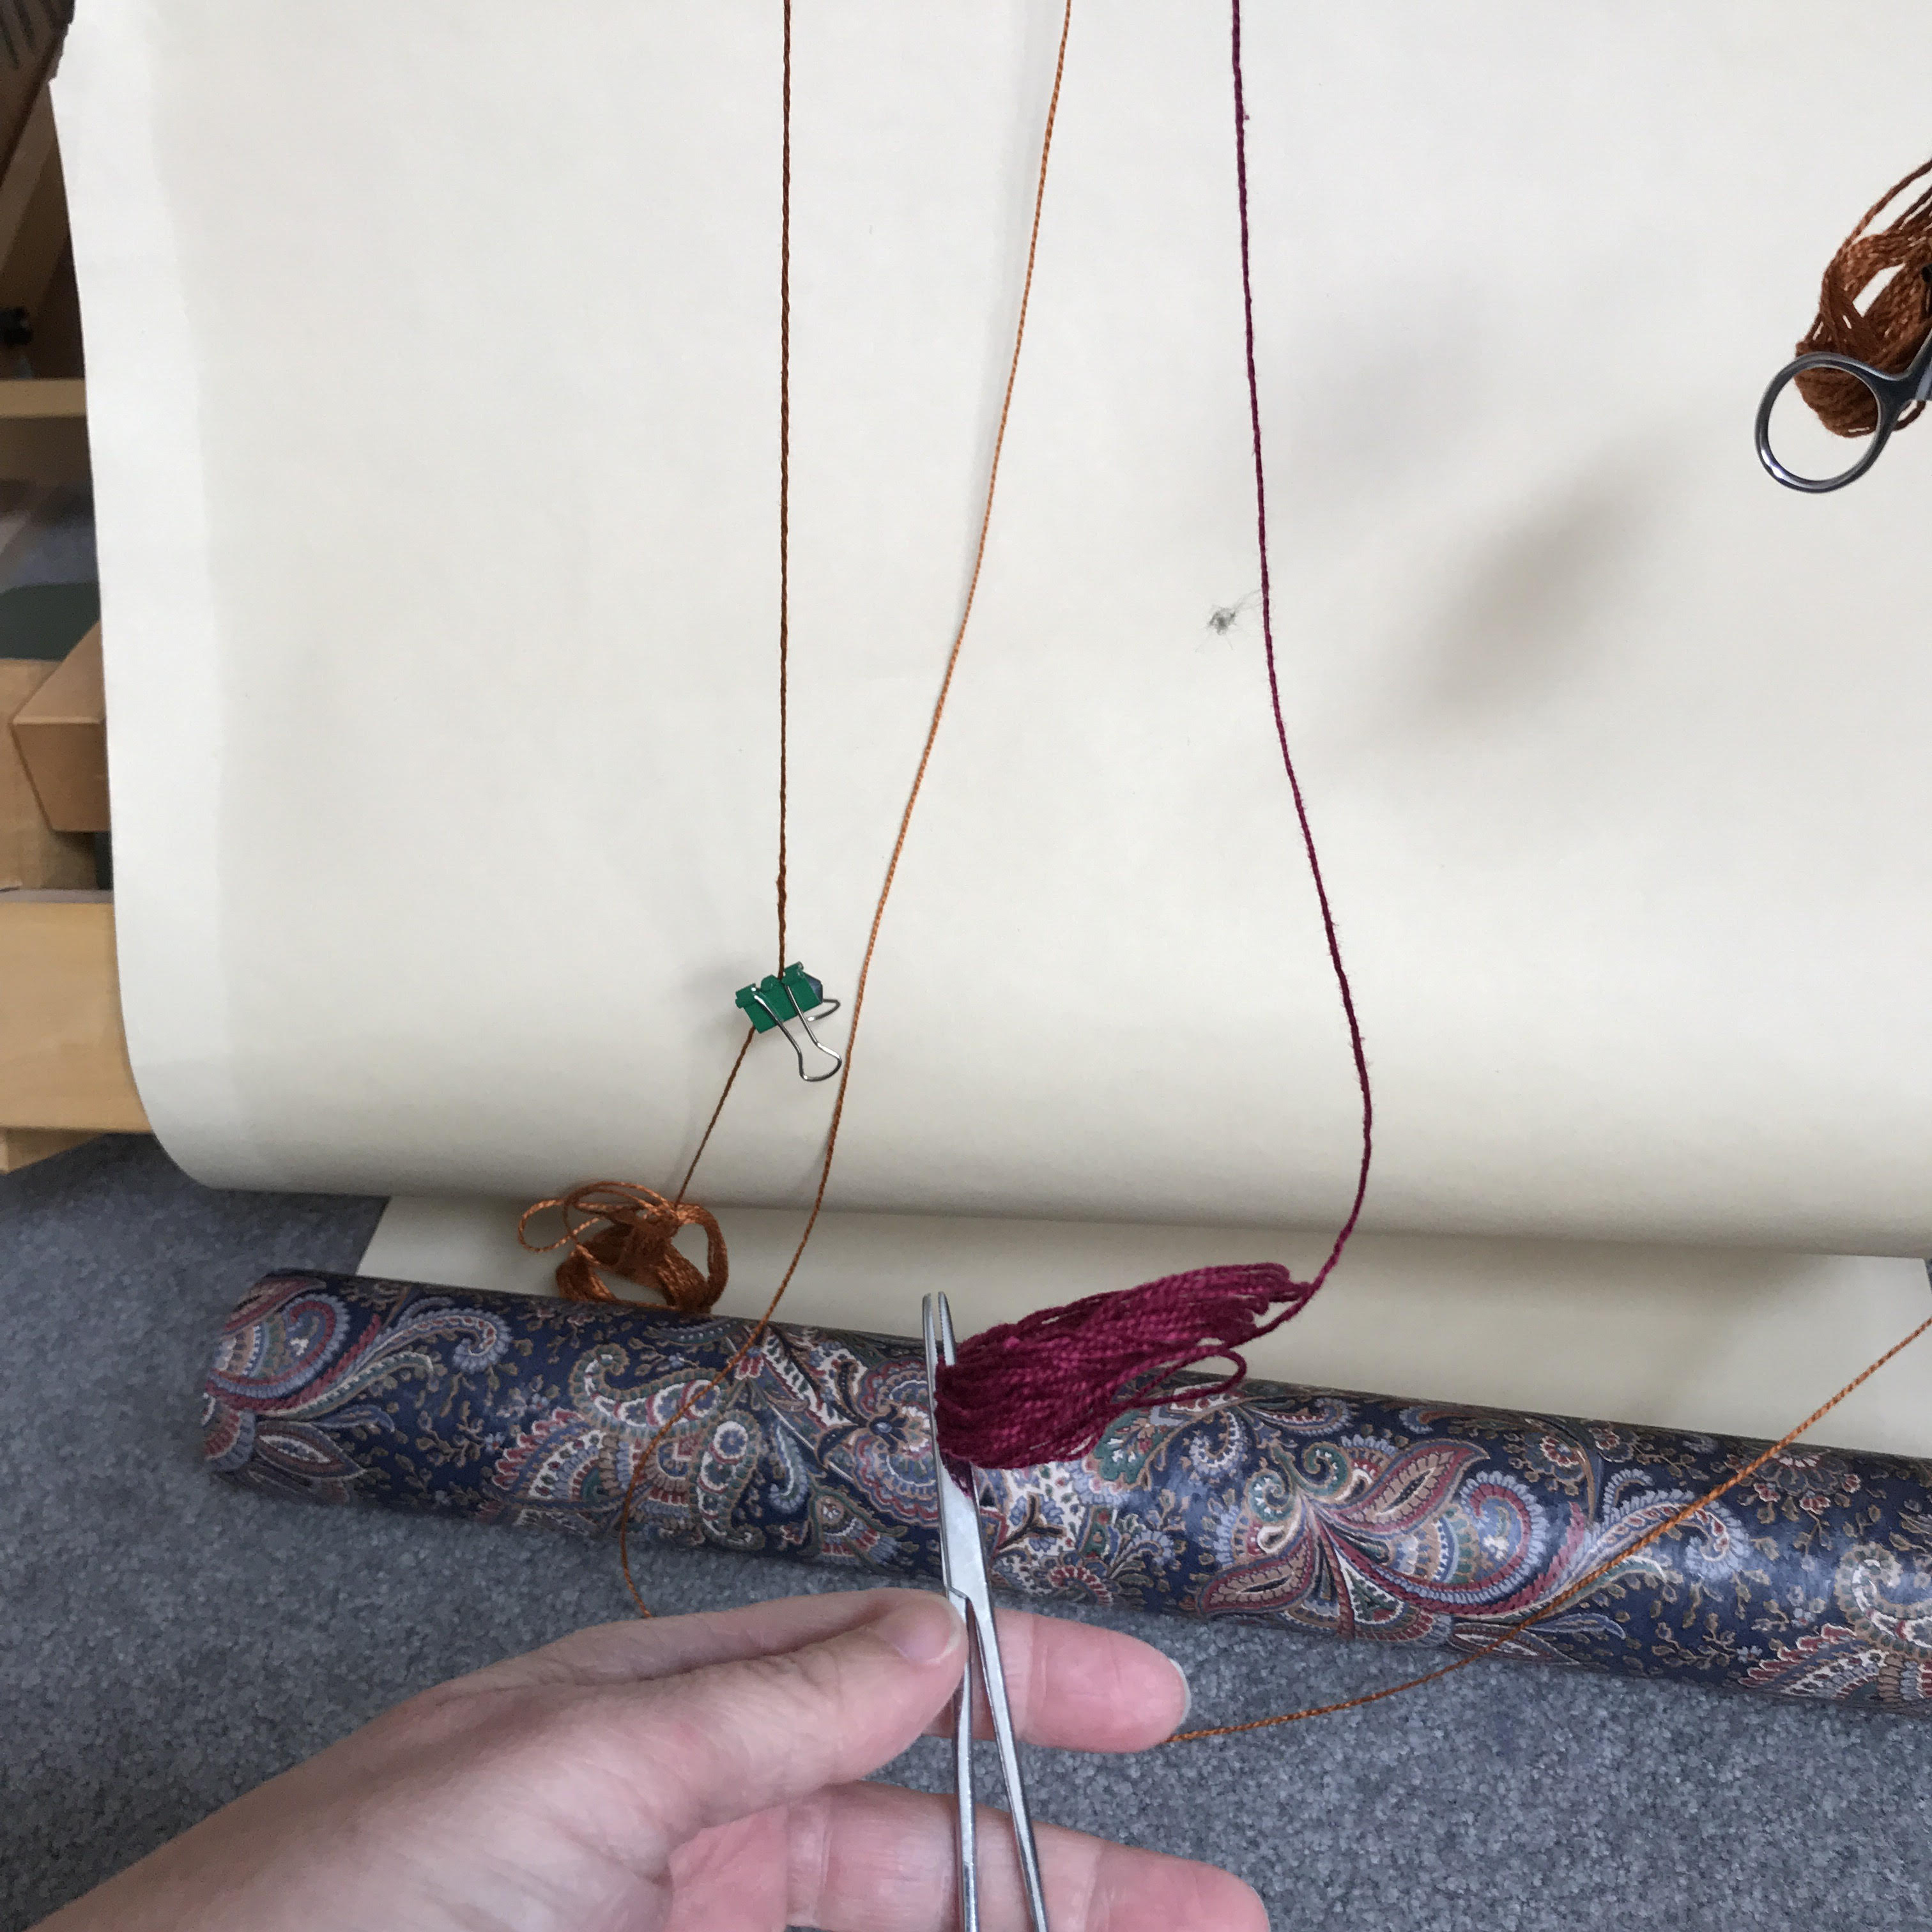
- 6. Weight the other end of your new warp end by hanging over the back beam. I use hemostats to weight warp ends over the back beam.
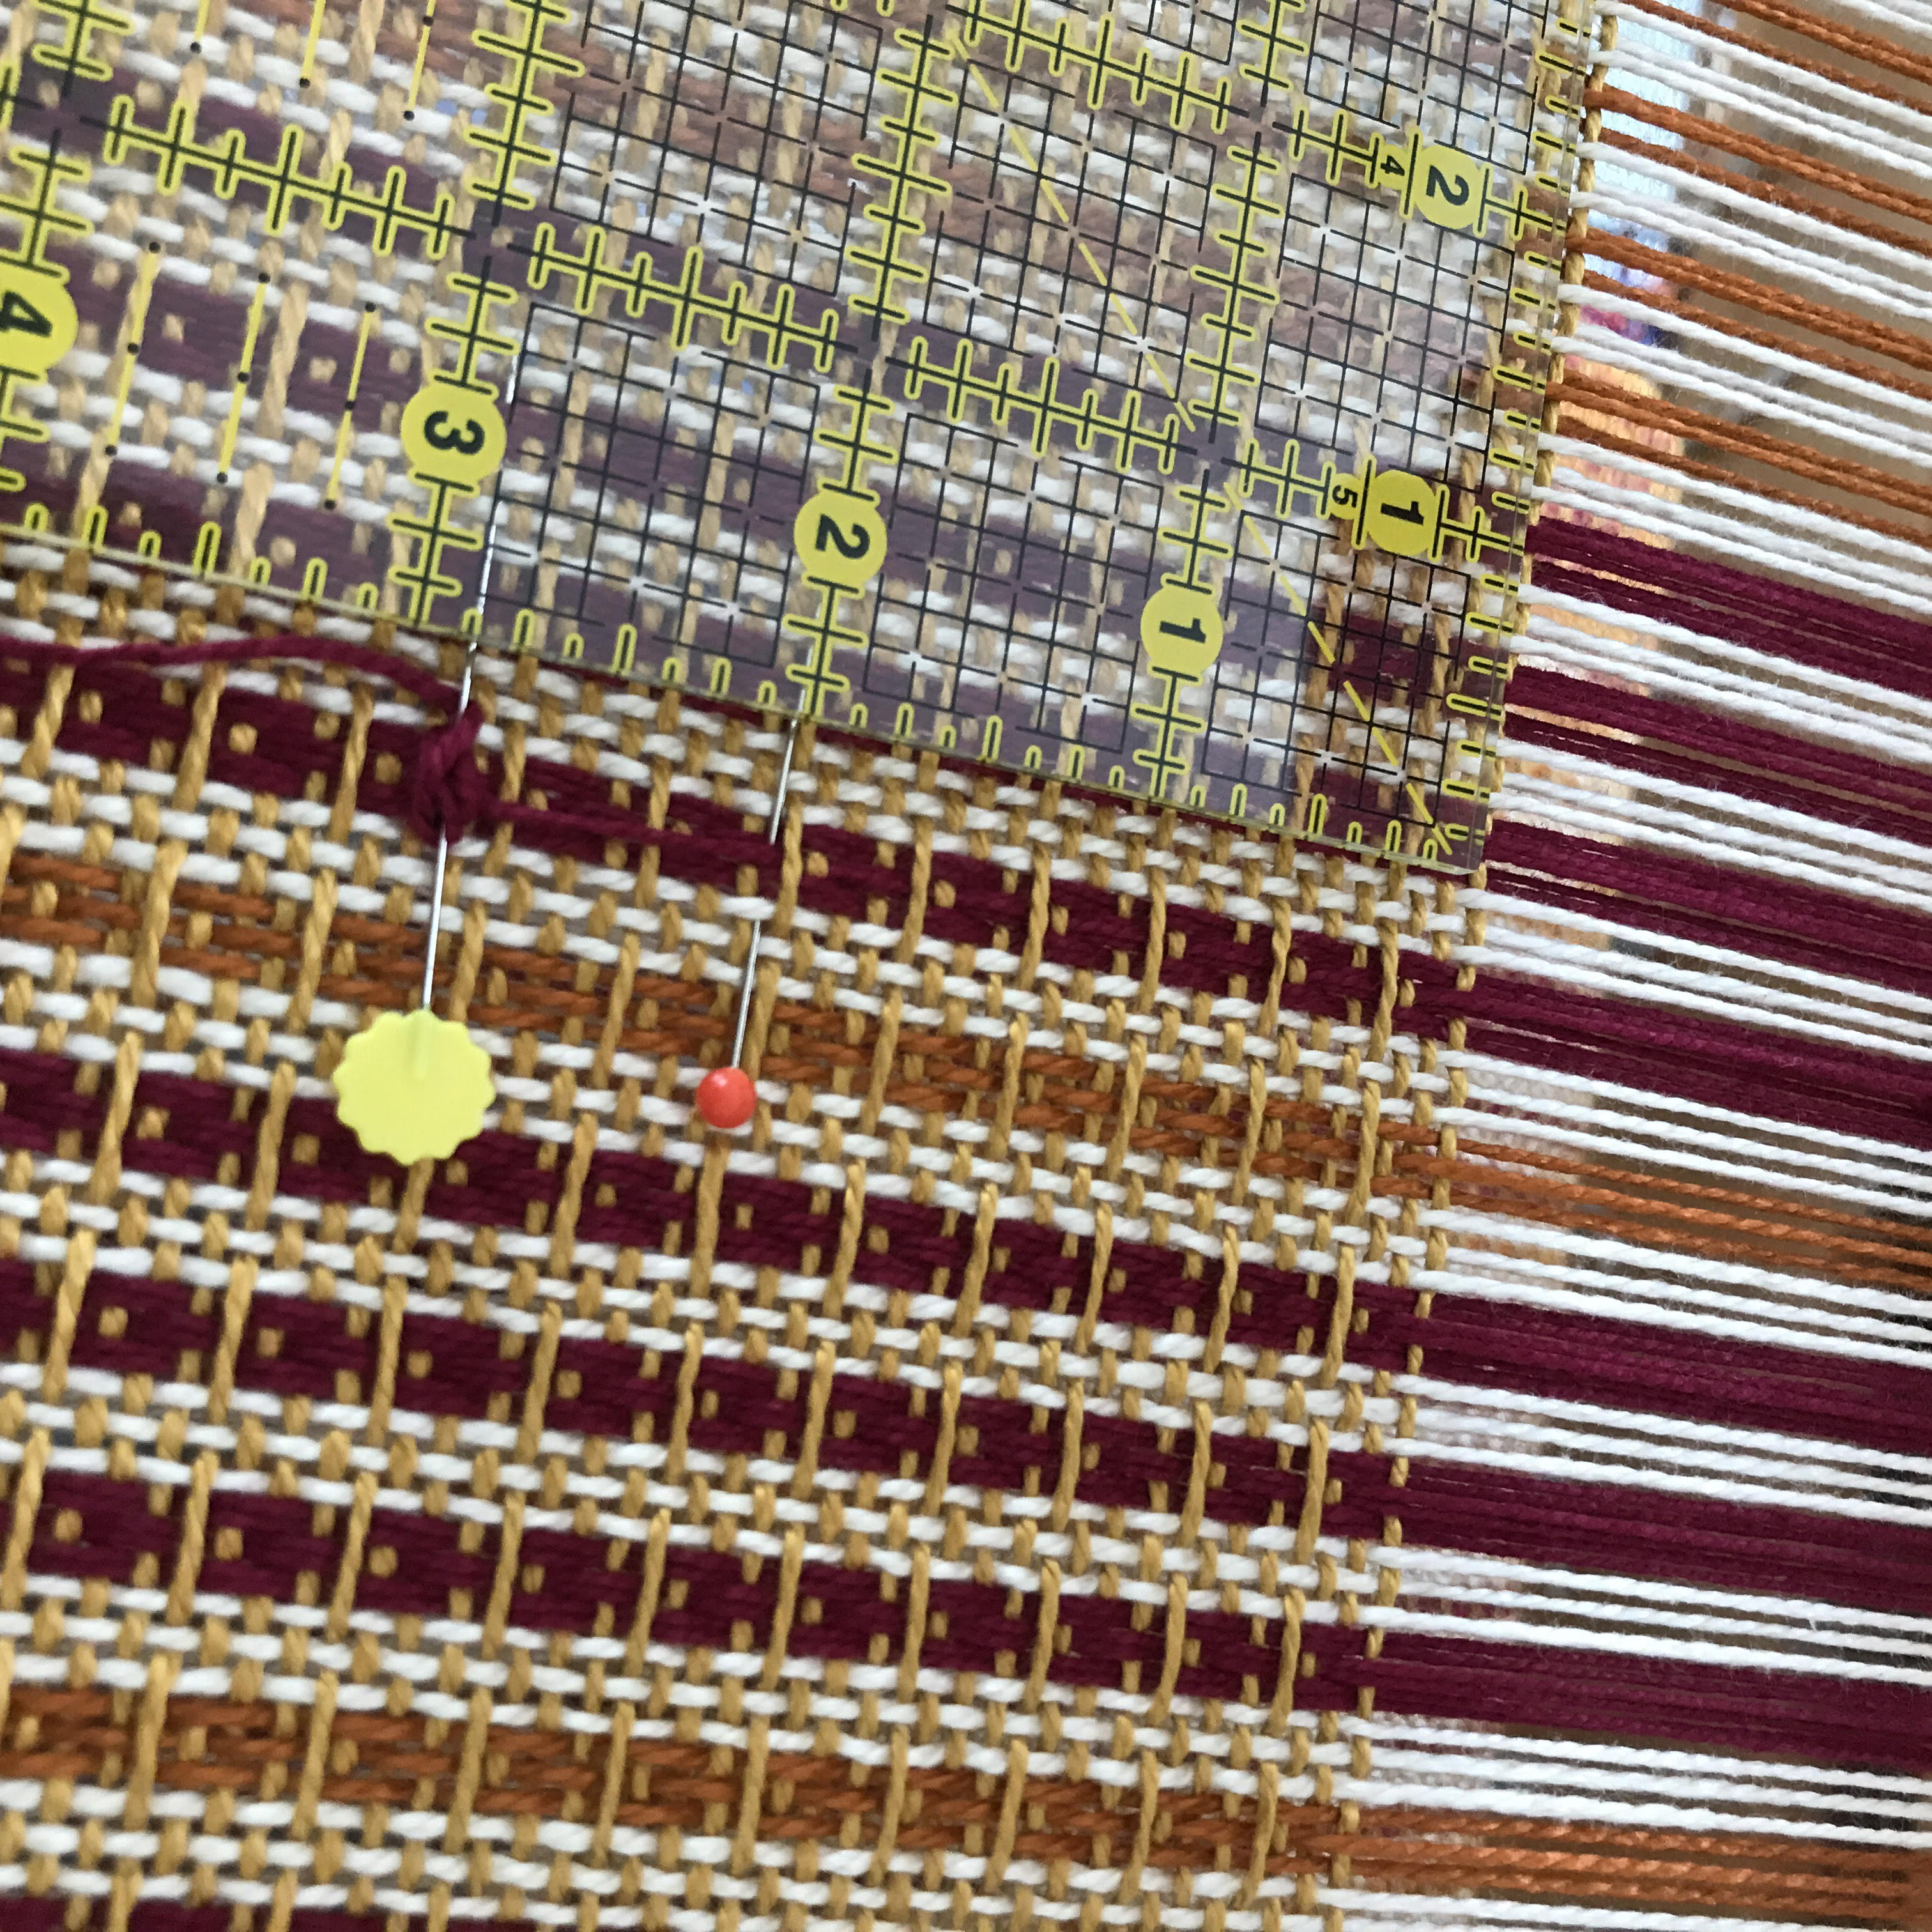
- 7. Weave about 2″ of cloth, following your established pattern. Both the new warp end and old warp end will be used together as one end for this portion of the cloth.
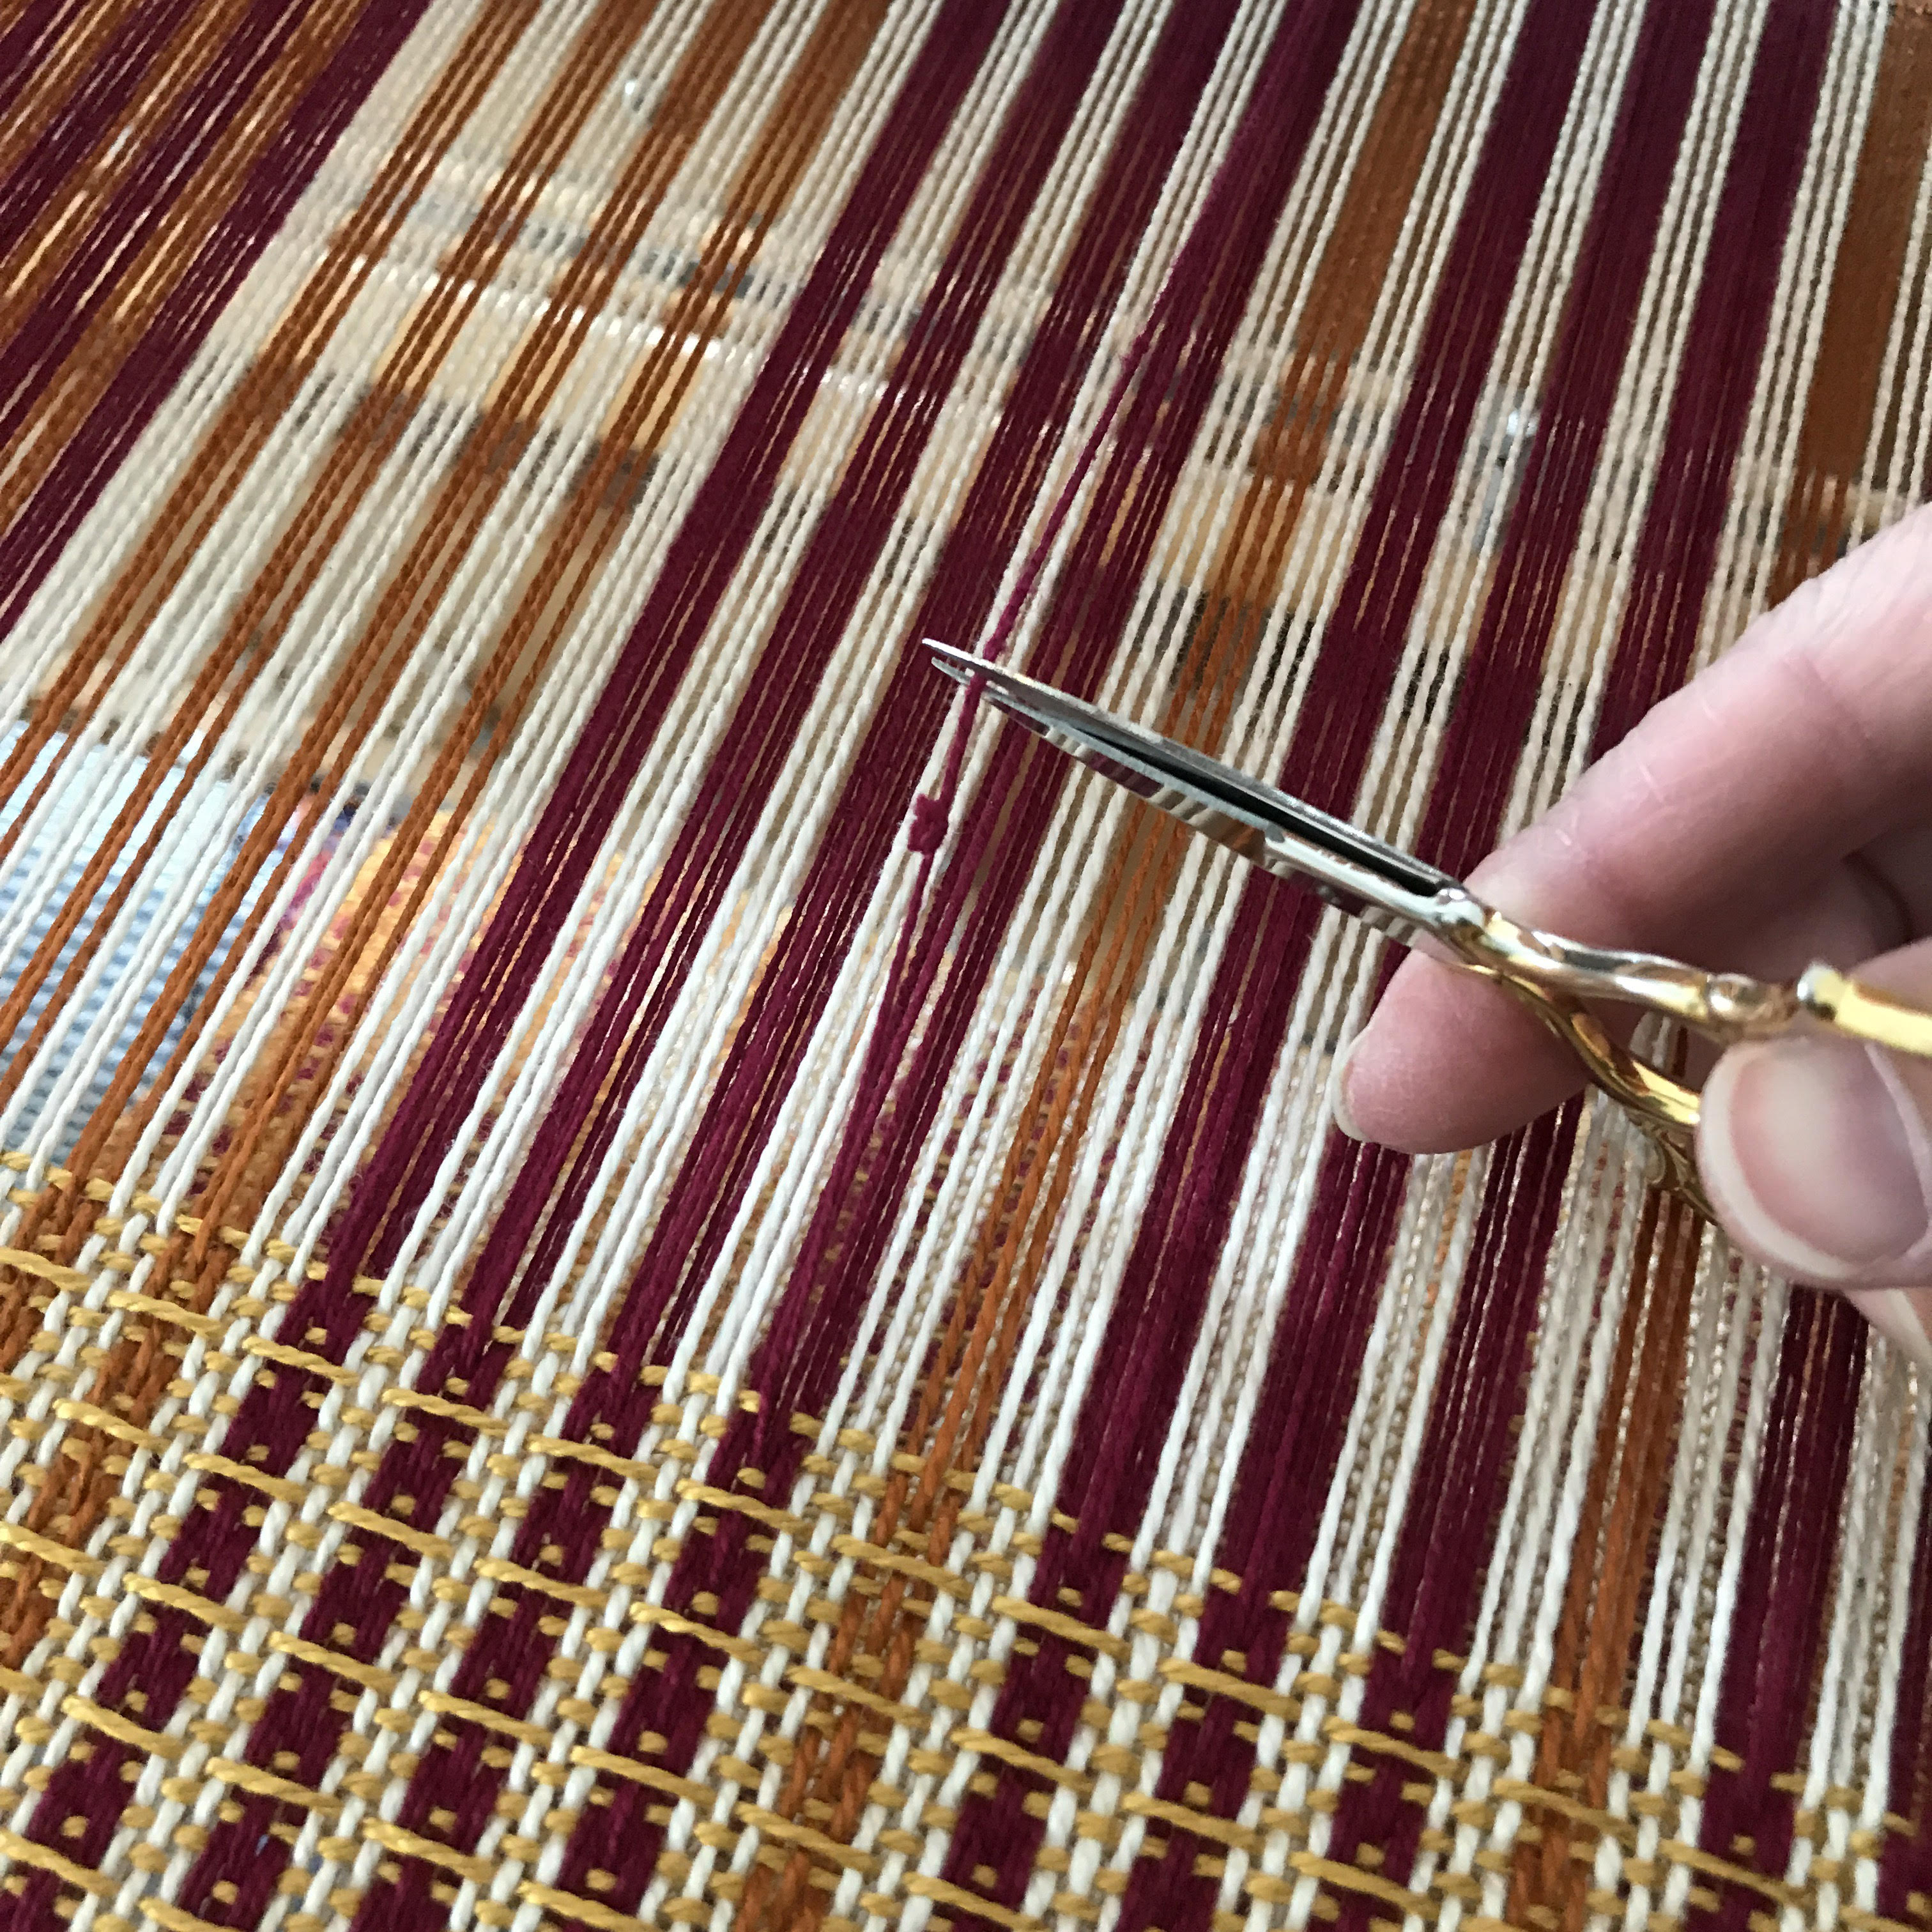
- 8. Snip the old, bum warp end that contains the knot or frayed area.
- 9. Draw the old warp end through the dent and heddle and let it drape over the back beam. Try to keep it trimmed close to the underside of the beam so that it doesn’t tangle itself together with the new warp end. Now you can continue to weave with just one shiny, new warp end in your cloth.
You’re done! Feel free to comment and or make suggestions for clarification. If you have your own manner of fixing and replacing warp ends, feel free to share.
Be well,
Kate K.

Great explanation and pictures for this problem. It is a situation we all encounter.
LikeLike
Thank you for your kind words! I usually end up with quite a collection of warp ends hanging over the back beam toward the end of a project.
Happy weaving! 🙂
LikeLike
It can also be helpful to cut knots out of the warp while winding it and thereby save yourself the repair work that you have described so well. I have found that to be a time saving approach on my warps, which are typically quite short.
LikeLike
You are right! It is easier to deal with a knot at the warp winding stage. I sometimes miss them after I’ve been winding for a while. Thanks for sharing your tip! Happy weaving!
LikeLike