
Hello, friends. During a walk to our local Harrisville, NH Post Office not long ago, I came across this tiny stone that had been painted with a big message:
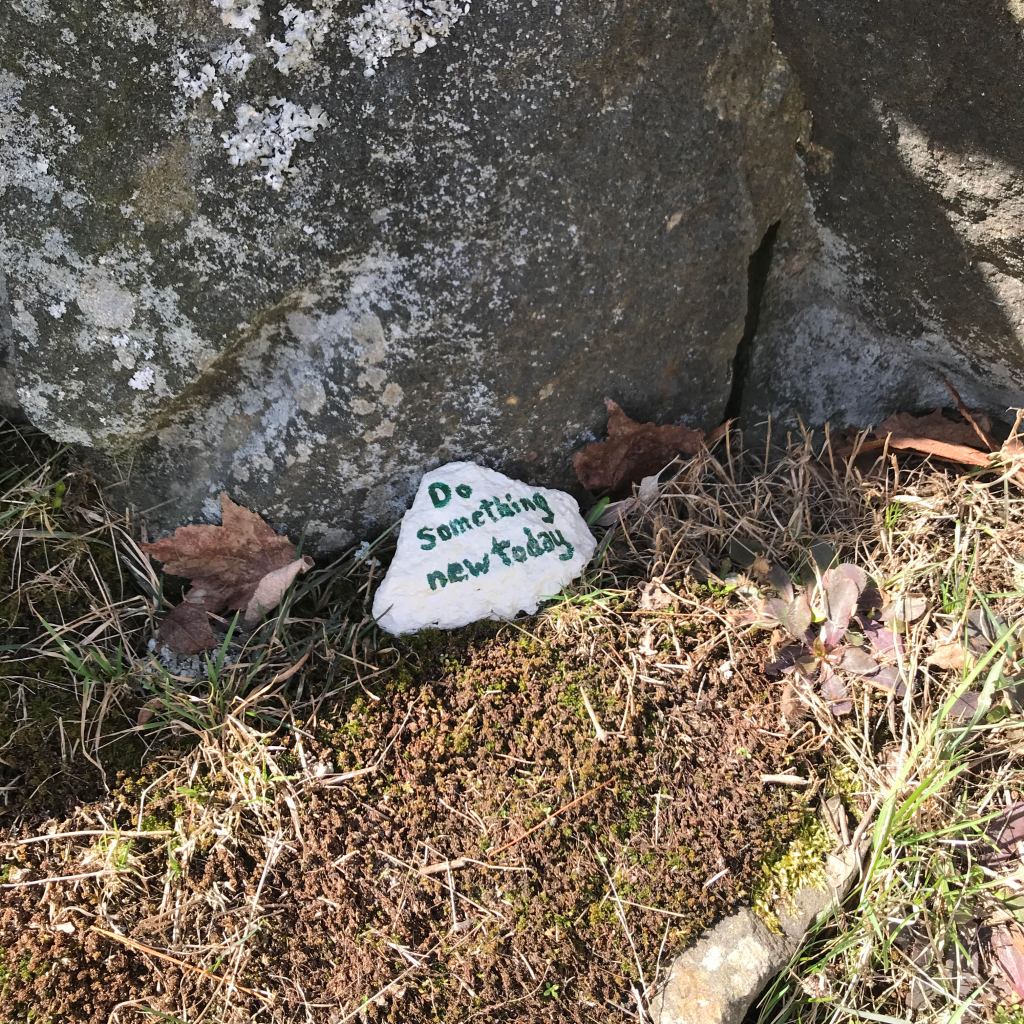
It is inspiring, yes? This maxim has been my mantra for many days since as I have worked on drafting sewing patterns made for particular use with my handwoven wool.
If you’ve been following the blog here this winter and early Spring, you’ve probably seen a few pictures of handbags that I’ve made. Why handbags? Well, ever since the pandemic started, I’ve been carrying more stuff around with me. Masks, hand sanitizer, tissues, disposable gloves. A trip to the grocery store has turned into an elaborate exercise in preparation.
My handwoven wool cloth is really not suited to banging out a finished piece using a sewing pattern that is drafted for commercially milled cloth, or even vinyl, cork, or leather. My wool cloth is quite thick, especially after finishing. Shrinkage after the fulling process is dramatic. In width alone, my cloth changes from, for example, nearly 20″ wide on the loom to 13″ after finishing. That’s a big change! Like a 35% change! This sort of shrinkage yields a very dense cloth, which I believe is well-suited to handbags. And let’s face it, handbags that are used in an area such as northern New England, where it can snow 8 months out of the year, need to be tough and durable, just like any outerwear item.
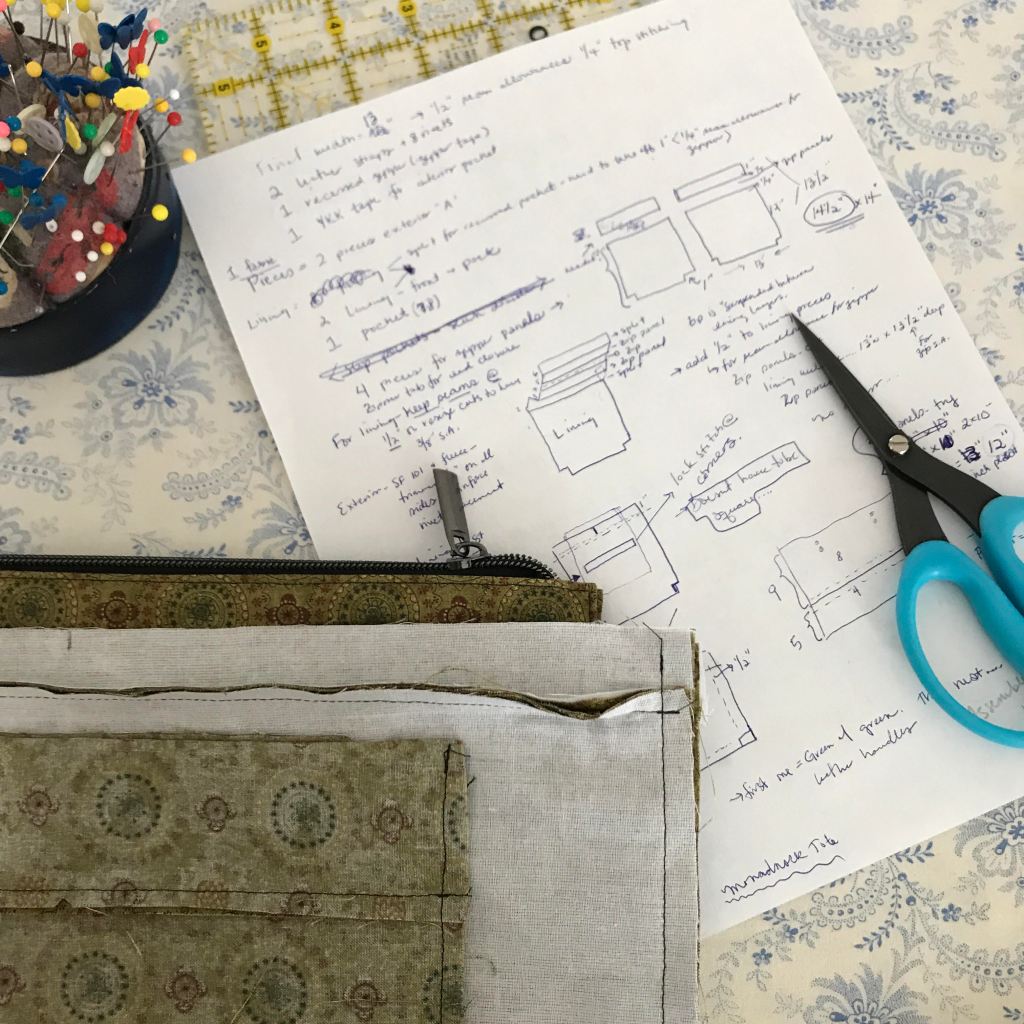
So instead of trying to weave cloth to fit existing sewing patterns out there, I’ve decided to turn the issue around and make patterns that fit my woven cloth. Here are few key points that drove me to this decision:
- Wool is sold by the ounce. It is expensive. It is important to minimize waste, especially in the warp threads. I’ve determined a warp width that maximizes the amount of finished, usable cloth for my purposes. While it is tempting to weave really wide warps, a wider warp generates more loom waste, especially on the back beam. I think I’ve found a balance.
- By drafting my own patterns (and really, I like this sort of thing!) I can work with my fabric instead of against it. For example, zipper closures sewn into my wool fabric? Not going to happen on my domestic machine! Zippers work better for me on the lining fabrics, made of quilting cottons, whether it is a recessed closure or an interior pocket closure.
- I can share dimensions between patterns (i.e. the widest width of fabric cut for my shoulder bag and the clutch is the same). Economize!
- Machine stitching handwoven fabric is a different kettle of fish. For example, a row of stitching 1/8″ from a finished, sewn edge of fabric is a lovely, attractive and somewhat standard thing in sewing pattern directions, but this measurement is a little too narrow for my wool. The same goes for stitch length; a longer stitch length is better for seams and for topstitching. And then there’s the issue of presser foot pressure and needle selection. (I could go on, but I’ll spare you the tedious details, dear reader).
- I can play with different woven fabrics on the same item to change the look of a piece. A flap closure or exterior slip pocket could be woven from a bit of “Ginny’s Coat” fabric or even a tartan and really enliven the overall appearance of the bag.
- Construction of the exteriors of my bags is not overly complex. I’ve incorporated a few curves here and there but have tried to keep things on the exterior straight forward. Why? Because if you make a mistake on handwoven cloth it is difficult and time consuming to fix. And sometimes, despite one’s best efforts, a mistake cannot be fixed. I’d rather use a seam ripper on a piece of store-bought quilting cotton than a piece of handwoven cloth. Having to chuck of piece of handwoven cloth into the trash is heartbreaking!
- Straps. Folding a double fold bias tape type of strap out of my wool is simply not possible. It is too thick to manage well. Straps will either be made from leather, sewn from a combination of wool and lining fabrics, or, in some instances, will be purchased straps. Straps and strap connectors are actually really fun to make and to attach now that I have a rivet press! I even got a hole punching die for the press so I don’t have to try to bore holes into my work with an awl. My rivet press is green. Such fun!
I hope you’ll stay tuned!
Do something new! Great words to live by.
Be safe and well, friends.
Kate K.
